There comes a time when every shed (or garden room) reaches the end of its life, or simply needs removing. Maybe your shed has started to rot, or you need to relocate it to make space for a new garden room, or it could just be something new to suit your lifestyle. Whatever the reason, it needs to be gone. Learning how to dismantle a shed safely and efficiently is an important skill for any DIY-minded homeowner.
This guide will walk you through the step-by-step process, from the most important steps like preparation and safety to disposal and recycling.

Step-by-step Guide to Dismantling a Shed or Garden Room
Step 1: Safety First
Before reaching for any hammers or tools, prioritise safety. Sheds and garden rooms can be heavy structures, and dismantling them involves all kinds of risks.
- Disconnect the electricity - If your garden room has lighting or sockets, turn them off completely before starting. This ensures no execution happens.
- Wear PPE - Gloves, safety glasses, and sturdy boots will protect you from splinters, sharp objects and tools or even pesky nails sticking out.
- Don’t work alone - Wall panels and doors can be heavy and awkward. Having a second pair of eyes and hands will reduce the risk of accidents.
Step 2: Empty the Shed
Start with a clear space to dismantle by removing all items. Shelving, inside fittings and any tool boxes should be out. This will again ensure safety and minimise trip hazards. Take time to look at the condition of the shed and check for rot, mould or pests, such as wasps nest or rodents. These can affect how you dismantle, but more on that later.
Step 3: Remove Windows and Doors
Fragile elements should be removed first.
- Windows - If your shed uses acrylic or styrene glass, it will be less fragile. Then carefully unscrew the frames and store them safely
(Top Tip: stick some duct tape in a cross shape over the glass to prevent shattering).
- Doors - Unscrew the doors from their hinges; this is where your friend will come in use. Tell them to support the door whilst the other unscrews.
(Top Tip: place the screws, locks and hinges into labelled bags for any future uses)

Step 4: Take Down the Roof
The roof is one of the trickiest but most important steps. It must be removed before the walls, otherwise, the structure could collapse dangerously.
- Strip the roof - Use a claw hammer or pry bar to strip the roofing felt, shingles or corrugated panels. Be prepared for any old felt to be fragile.
- Start dismantling - Start from the ridge beam at the top and work your way downwards. Unscrew or pry off any panels, and tell your helper to support them whilst you're doing so. Work carefully, as this is where a lot of injuries could happen.
/revision%20space%20webP%20(1).webp?width=830&height=447&name=revision%20space%20webP%20(1).webp)

Step 6: Disassemble the Floor and Base
Finally, take up the floor. Unscrew foundation beams with a drill- or if they're stubborn, get a pry bar to help lift them. Once removed, clear away the leftover nails, screws and debris. If your shed was installed on a timber base, this can be dismantled too.
For a concrete base, these are generally left in place, but check if it needs to be re-levelled if something new is going on top of it.


What to Do with the Materials After You Take Down Your Shed
Once you've dismantled your shed, you're left with what looks like a pile of timber, but if you're a DIY-minded homeowner, you don’t have to chuck it all away. Timber can be used for repurposed planter boxes, shelves or even firewood. If it's still solid, it can be your next project. Scraps of metal can be taken to a recycling centre. The roof felt cannot be recycled, so you need to dispose of this responsibly.
Or if you know you’ll have large amounts of scrap, you can always hire a trusty skip to save you the trips.
.webp?width=800&height=600&name=CM%20case%20study%20pages%204%20photos%20modules%20800%20x%20600%20(4).webp)
Tips for Dismantling Different Shed Types
Not all sheds are created equal, and the method of dismantling can vary.
- Wooden sheds: These are the most common but can be weakened by rot or warped timber. You may need a saw to cut unusable sections. A crowbar and hammer will help with stubborn boards and nails.
- Metal sheds: Instead of nails, these are usually bolted together. A socket wrench and screwdriver are essential. Always wear thick gloves, as sheet metal edges can be sharp.
- Garden rooms: If your building is insulated or wired, dismantling will be more complex. Take extra care with electrics and insulation materials.

How to take down a shed and rebuild it
Some people dismantle their shed with the intention of rebuilding it in a new location. To make this process smoother:
- Take photos – Document every stage, especially how panels and frames connect.
- Label panels – Use a marker to write Wall 1, Wall 2, so you know where each piece belongs.
- Check your base – Your new location will need a level and stable foundation.
- Inspect materials – Replace any rotten timber or bent metal before reassembly.
This careful preparation makes the rebuild process much quicker and easier.
When to consider a professional for dismantling a shed
While dismantling a shed yourself is achievable, it’s not always the best option. Larger structures, insulated garden rooms, or buildings with electrical wiring can be time-consuming and risky to take apart without the right tools.
If you’re short on time, equipment, or confidence, it may be worth hiring a professional service to handle it safely. At Cabin Master, we can advise on dismantling and help you prepare the space for a brand-new building.
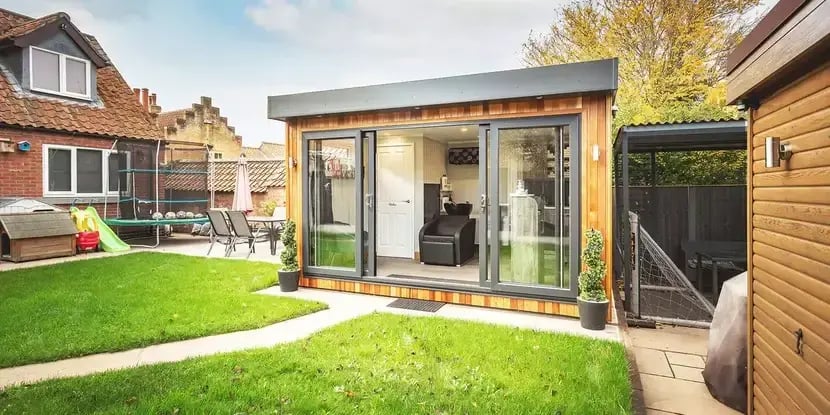
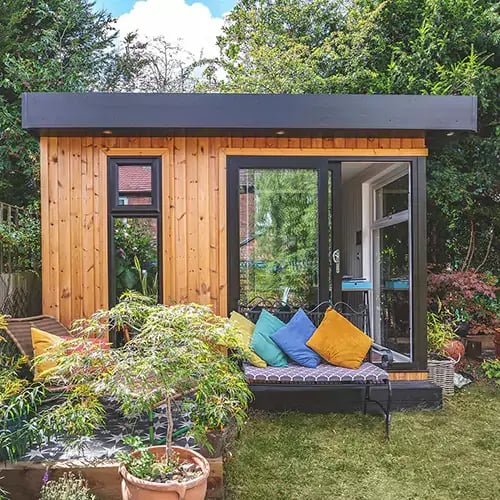
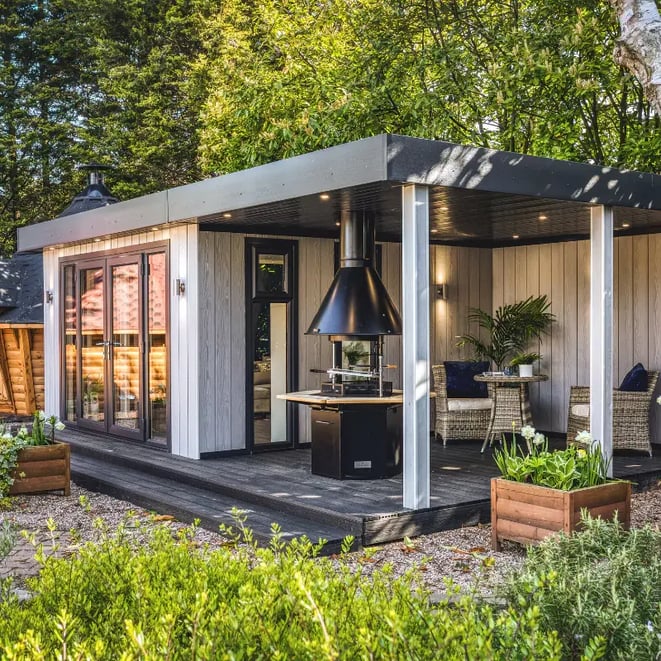
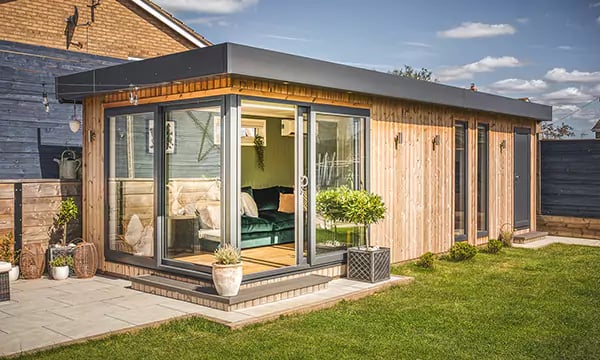
If you’re ready for a new garden room after dismantling your shed…
If you’ve dismantled your old shed to make way for something new, why not explore the possibilities of a bespoke garden room? Whether you dream of a home office, gym, art studio, or bar, Cabin Master designs and installs insulated timber buildings made to last all year round.
Contact us today to discuss your project—or visit one of our garden room show sites to see what’s possible in person.